
Easy Easter Bunny Cookies

Is it just me, or do you think Easter is a little underrated (commercially, not religiously). I mean, for kids, it's great! Easter egg hunts, Easter baskets, and lots and lots of candy. There is none of that stuff for adults! Seriously, I would still love to do an Easter egg hunt every year. I keep telling my husband this, but he isn't getting the hint. Can you tell I am in the Easter spirit?
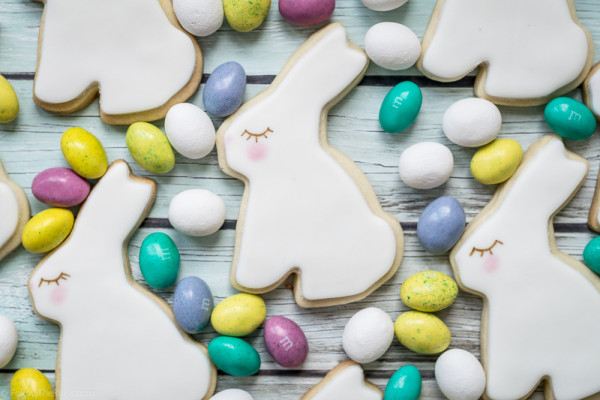
To kick off my Easter baking extravaganza, I made these adorable Easter Bunny cookies. Aren't they cute? (I can't really take credit for their cuteness. I got these idea from Sweet Bake Shop's Instagram feed, which you must follow if you love looking at beautiful baked goods.) And the best thing about these cookies is how easy they are!
Can you use a cookie cutter? You can make these cookies!

You know I love to decorate cookies, but making the icing and then decorating them can be so time consuming. So to take a bit of a short cut, I used fondant! If you have never used fondant before, it's basically the same consistency as Play-doh. It's soft and pliable and can be rolled out and cut into any shape.
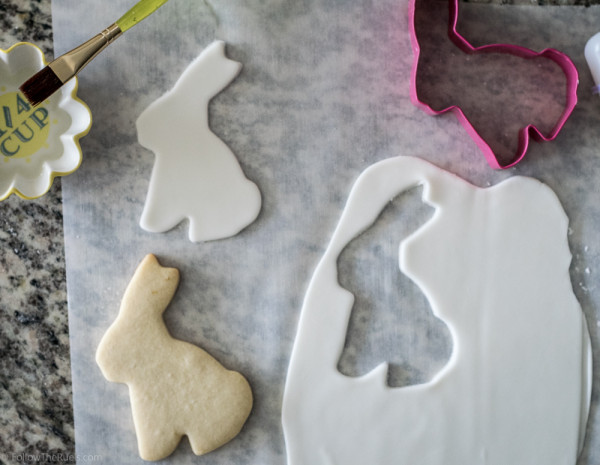
To cover these bunny cookies, I rolled the fondant out to about 1/16th inch and cut it with the same cookie cutter as the cookie. The cookie will be slightly bigger since it expands in the oven, but it should fit perfectly. If not, the fondant does have some stretch, so you can pull it a little to fit the cookie, if necessary.
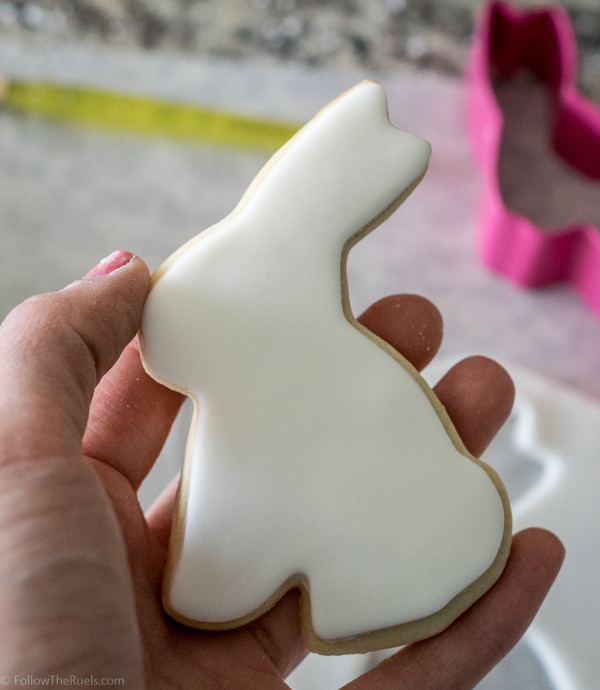
To stick the fondant to the cookie, I brushed some water on to the back of the fondant. Since its basically made of sugar, when it's wet it becomes really tacky and sticks easily to the cookie. Once the fondant is on the cookie, I run my finger around the edge to soften it a bit and make sure that its completely pressed down.
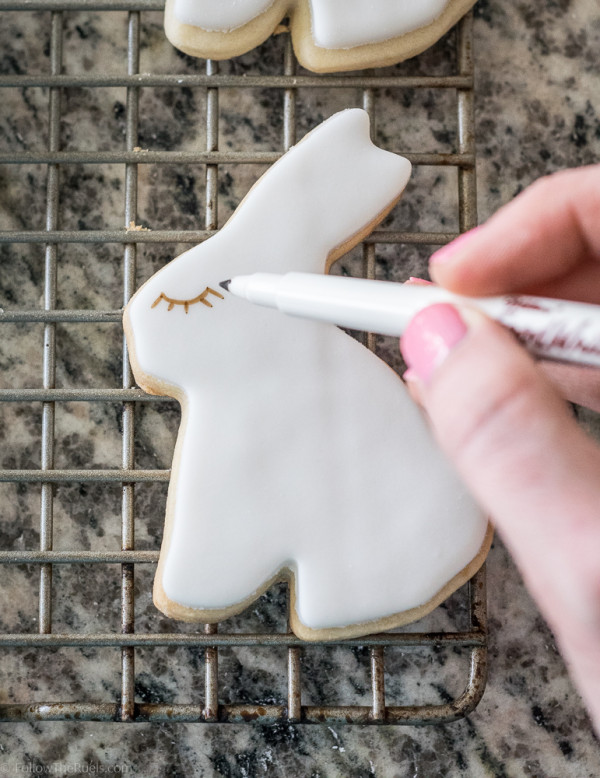
The other great thing about fondant, it doesn't require any drying time! You can pretty much immediately start decorating them. The next step with these cookies is to draw on the eye with an edible food marker. Like @sweetbakeshop, I drew the closed eye which makes them look so sweet and feminine. If you don't like that you could just make a small dot or draw an open eye.
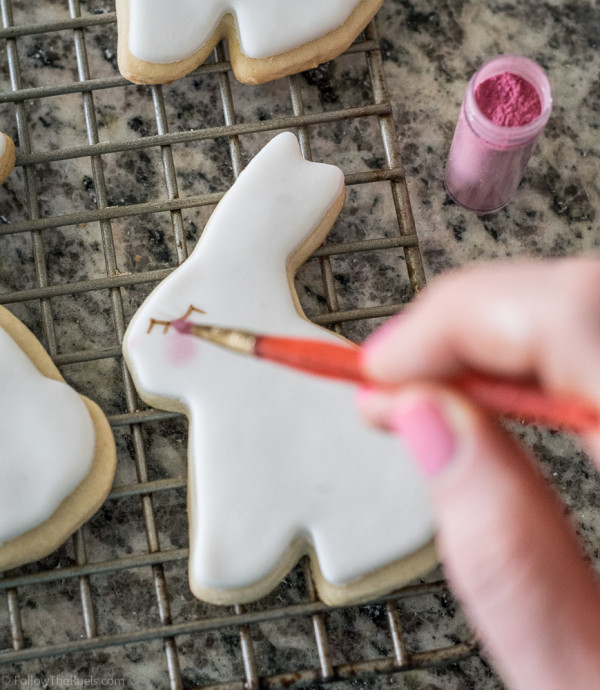
To create the pink nose and cheeks, I used a little bit of pink luster dust that I picked up from Michaels. Luster dust is basically edible powdered pigment. You don't need a lot of it to make an impact. What I do is tap a little bit into the lid, then dab my brush into the lid and tap off the excess. For the nose, I just brush a bit on. For the cheeks, I move my brush in circular motions right under the eye, first starting in a small circle, then working my way out.
That's it. That's the whole process. I told you it was easy!
Come on! Don't tell me you don't want to make these cookies right this second! Anyone can make these cookies. Even if you don't bake regularly or have never decorated cookies.

What would also be fun to do with these cookies is to create some water colors with watered down food coloring (gel food coloring + vanilla extract) and let the kids paint the bunnies with the water colors. The world is your oyster!
Enjoy!