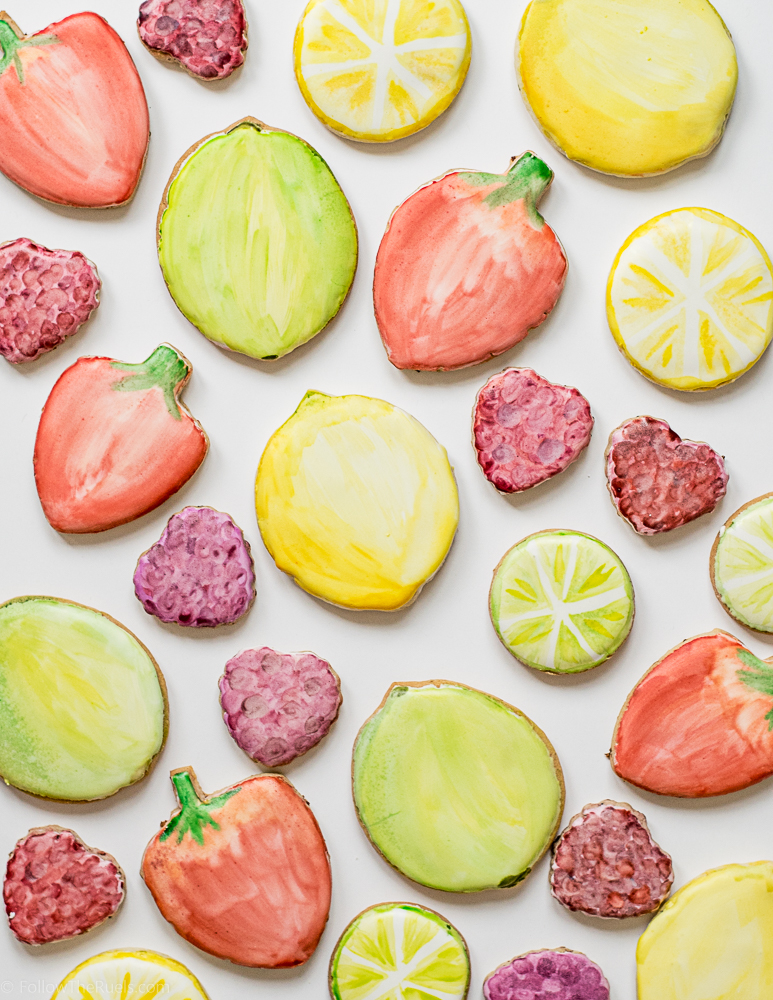
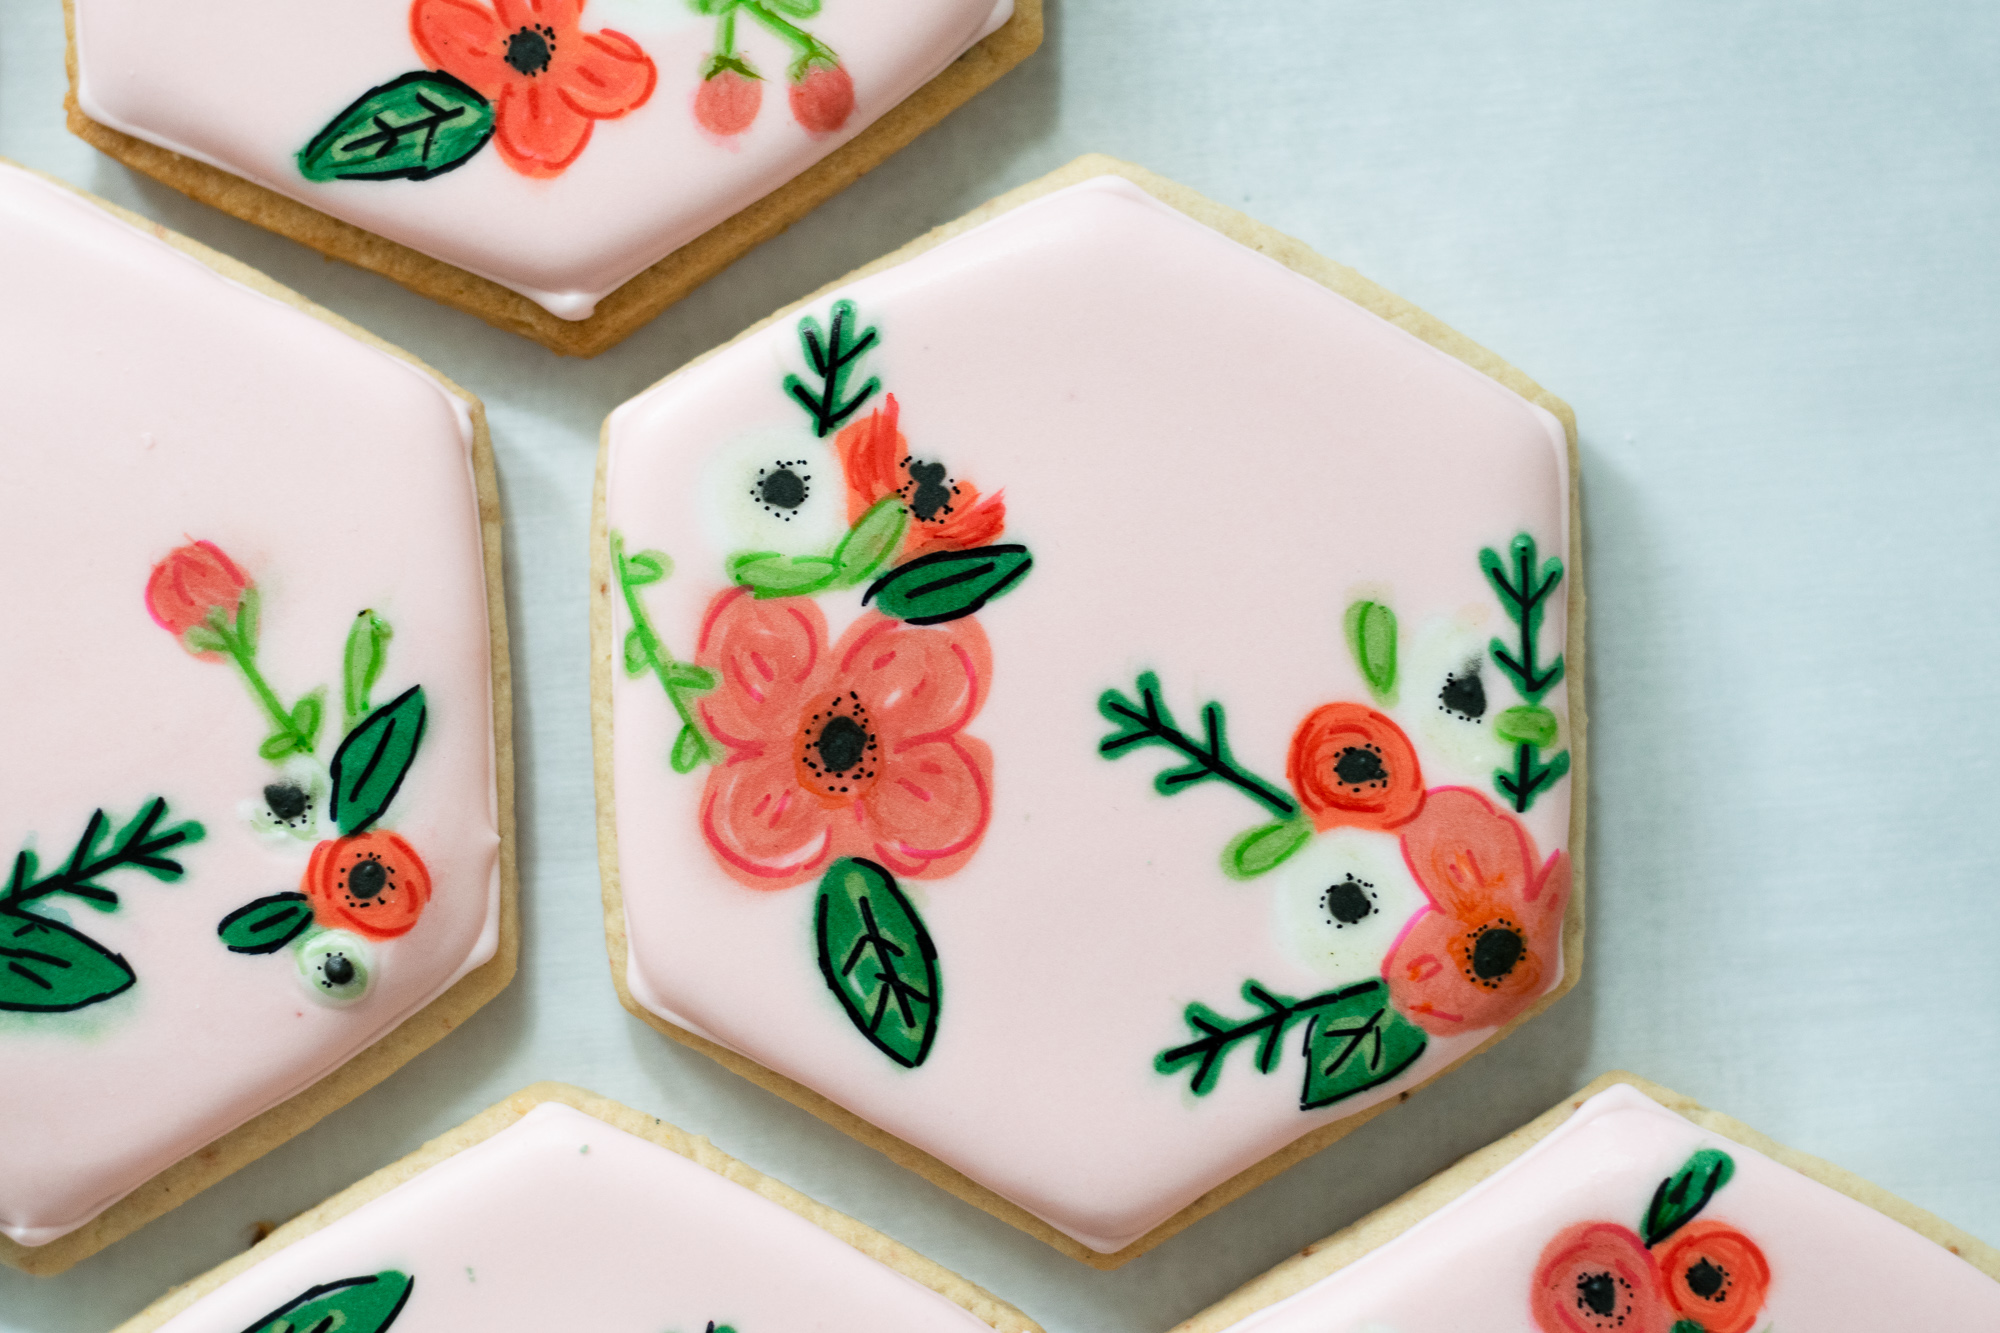
Wet-on-Wet Floral Icing Technique
I follow a lot of cookiers (or cookie artists) on Instagram and one trend I have been seeing all over the place is this wet-on-wet technique. It is used in lots of ways from just creating simple polka-dots or lines to doing something much more complicated like a floral pattern.
I have been dying to try my hand at creating a wet-on-wet floral icing pattern for a while and I thought Mother’s Day would be the perfect occasion to make these pretty cookies.
While the technique is actually a lot more simple that it may appear, there are a few tips and tricks that I will share with you to make the experience even easier.
What You Need
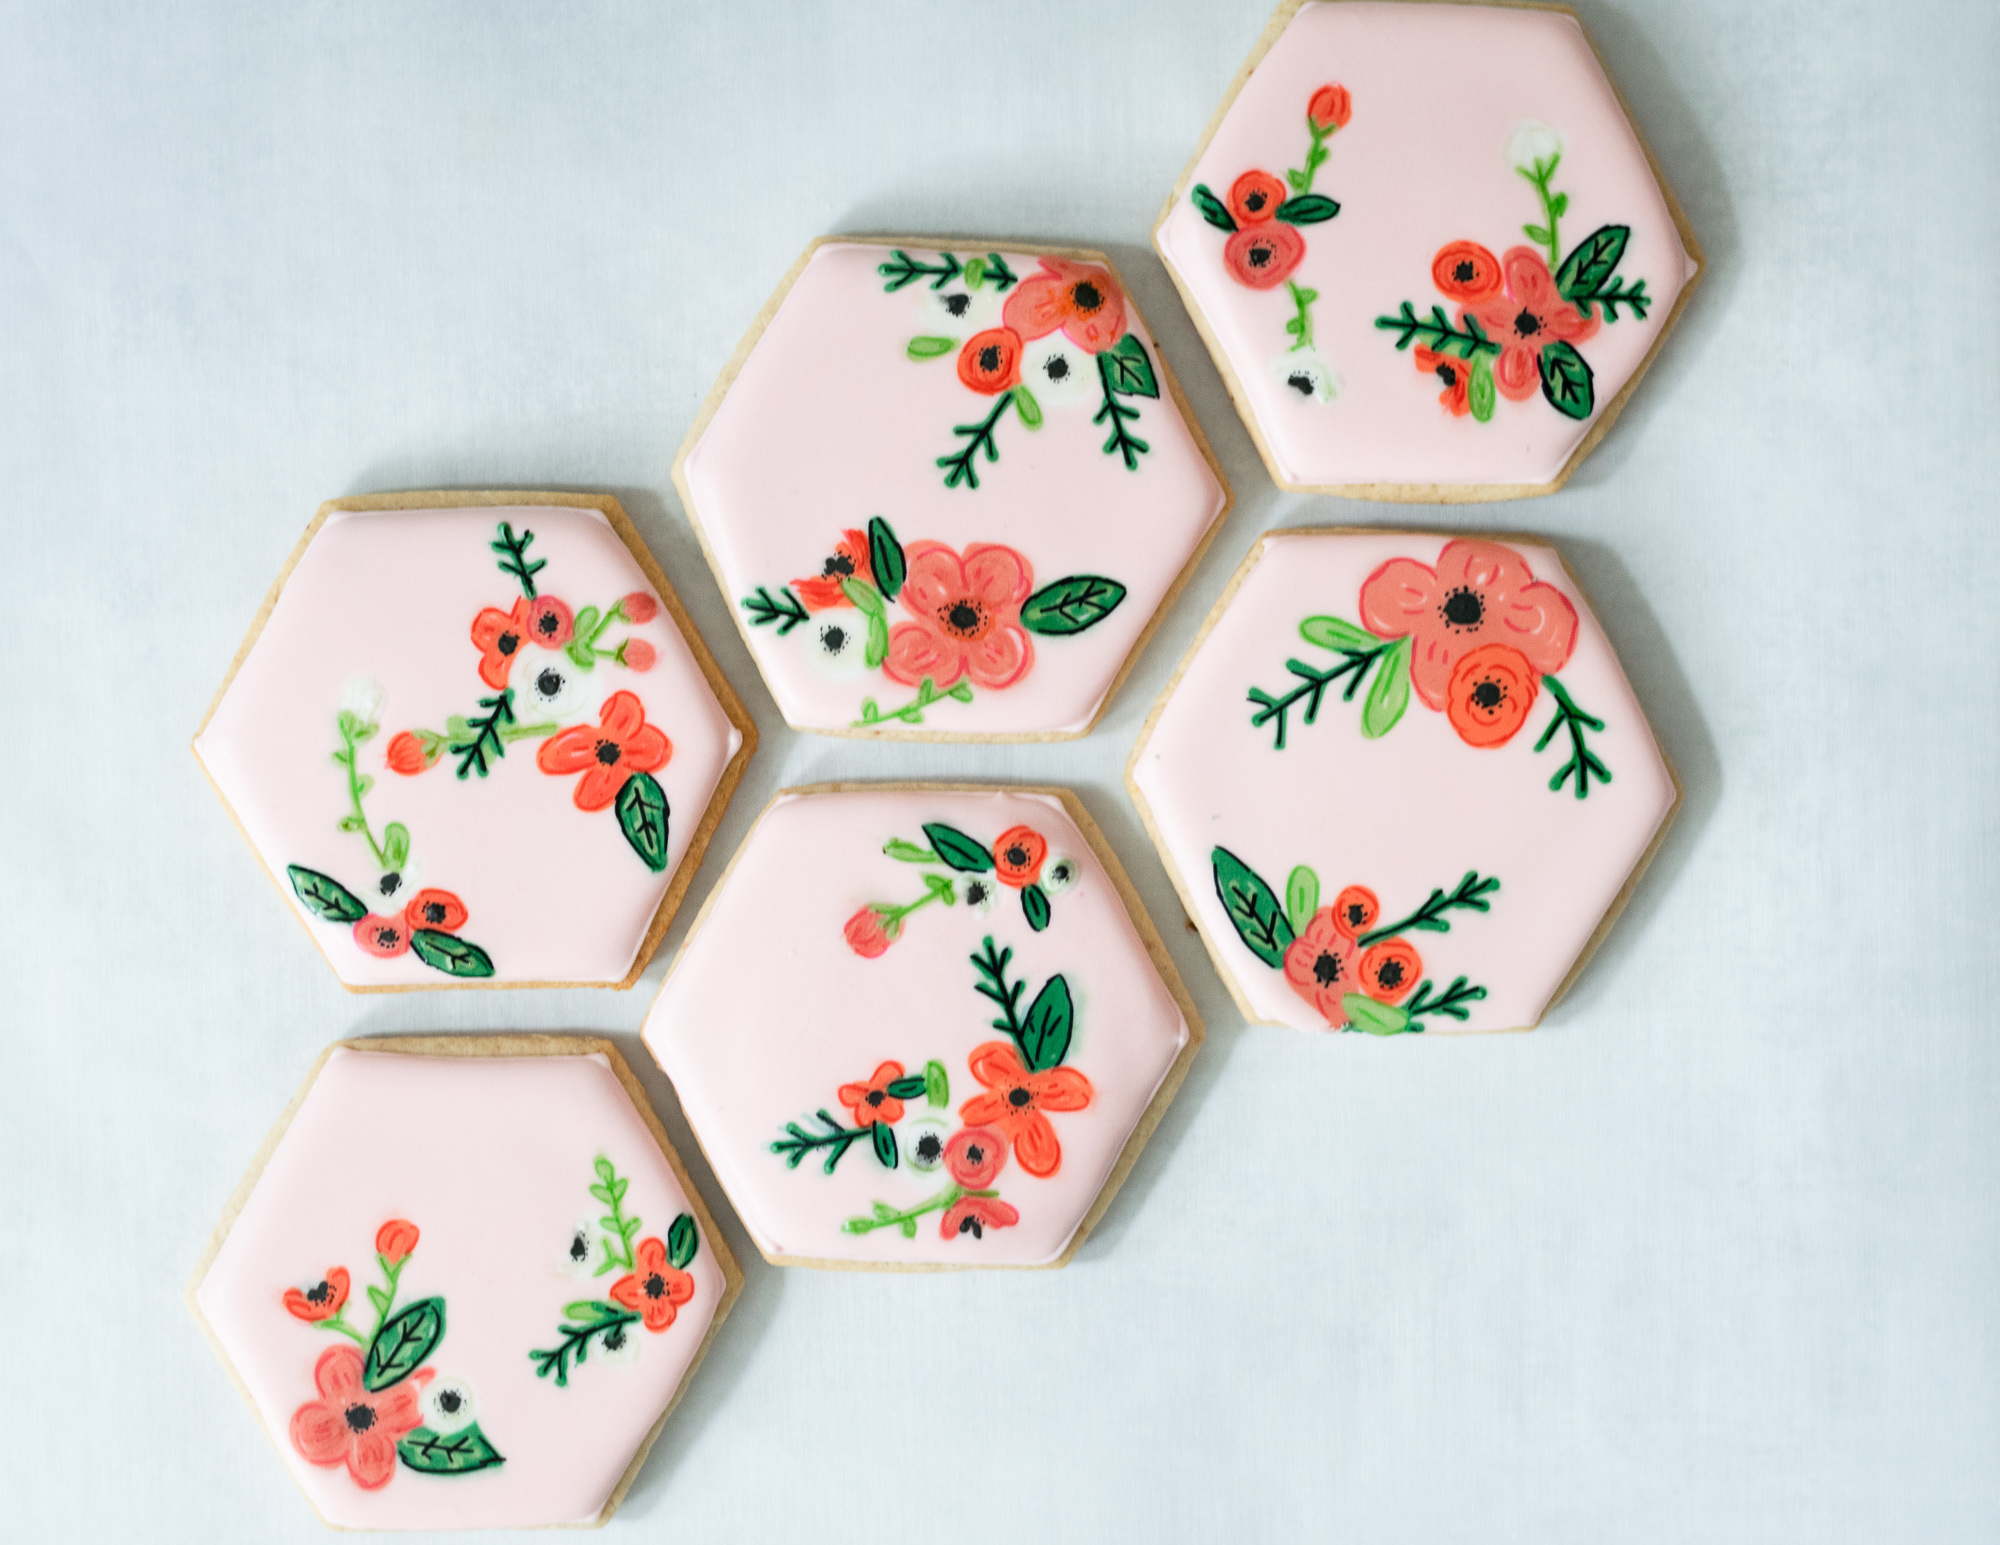
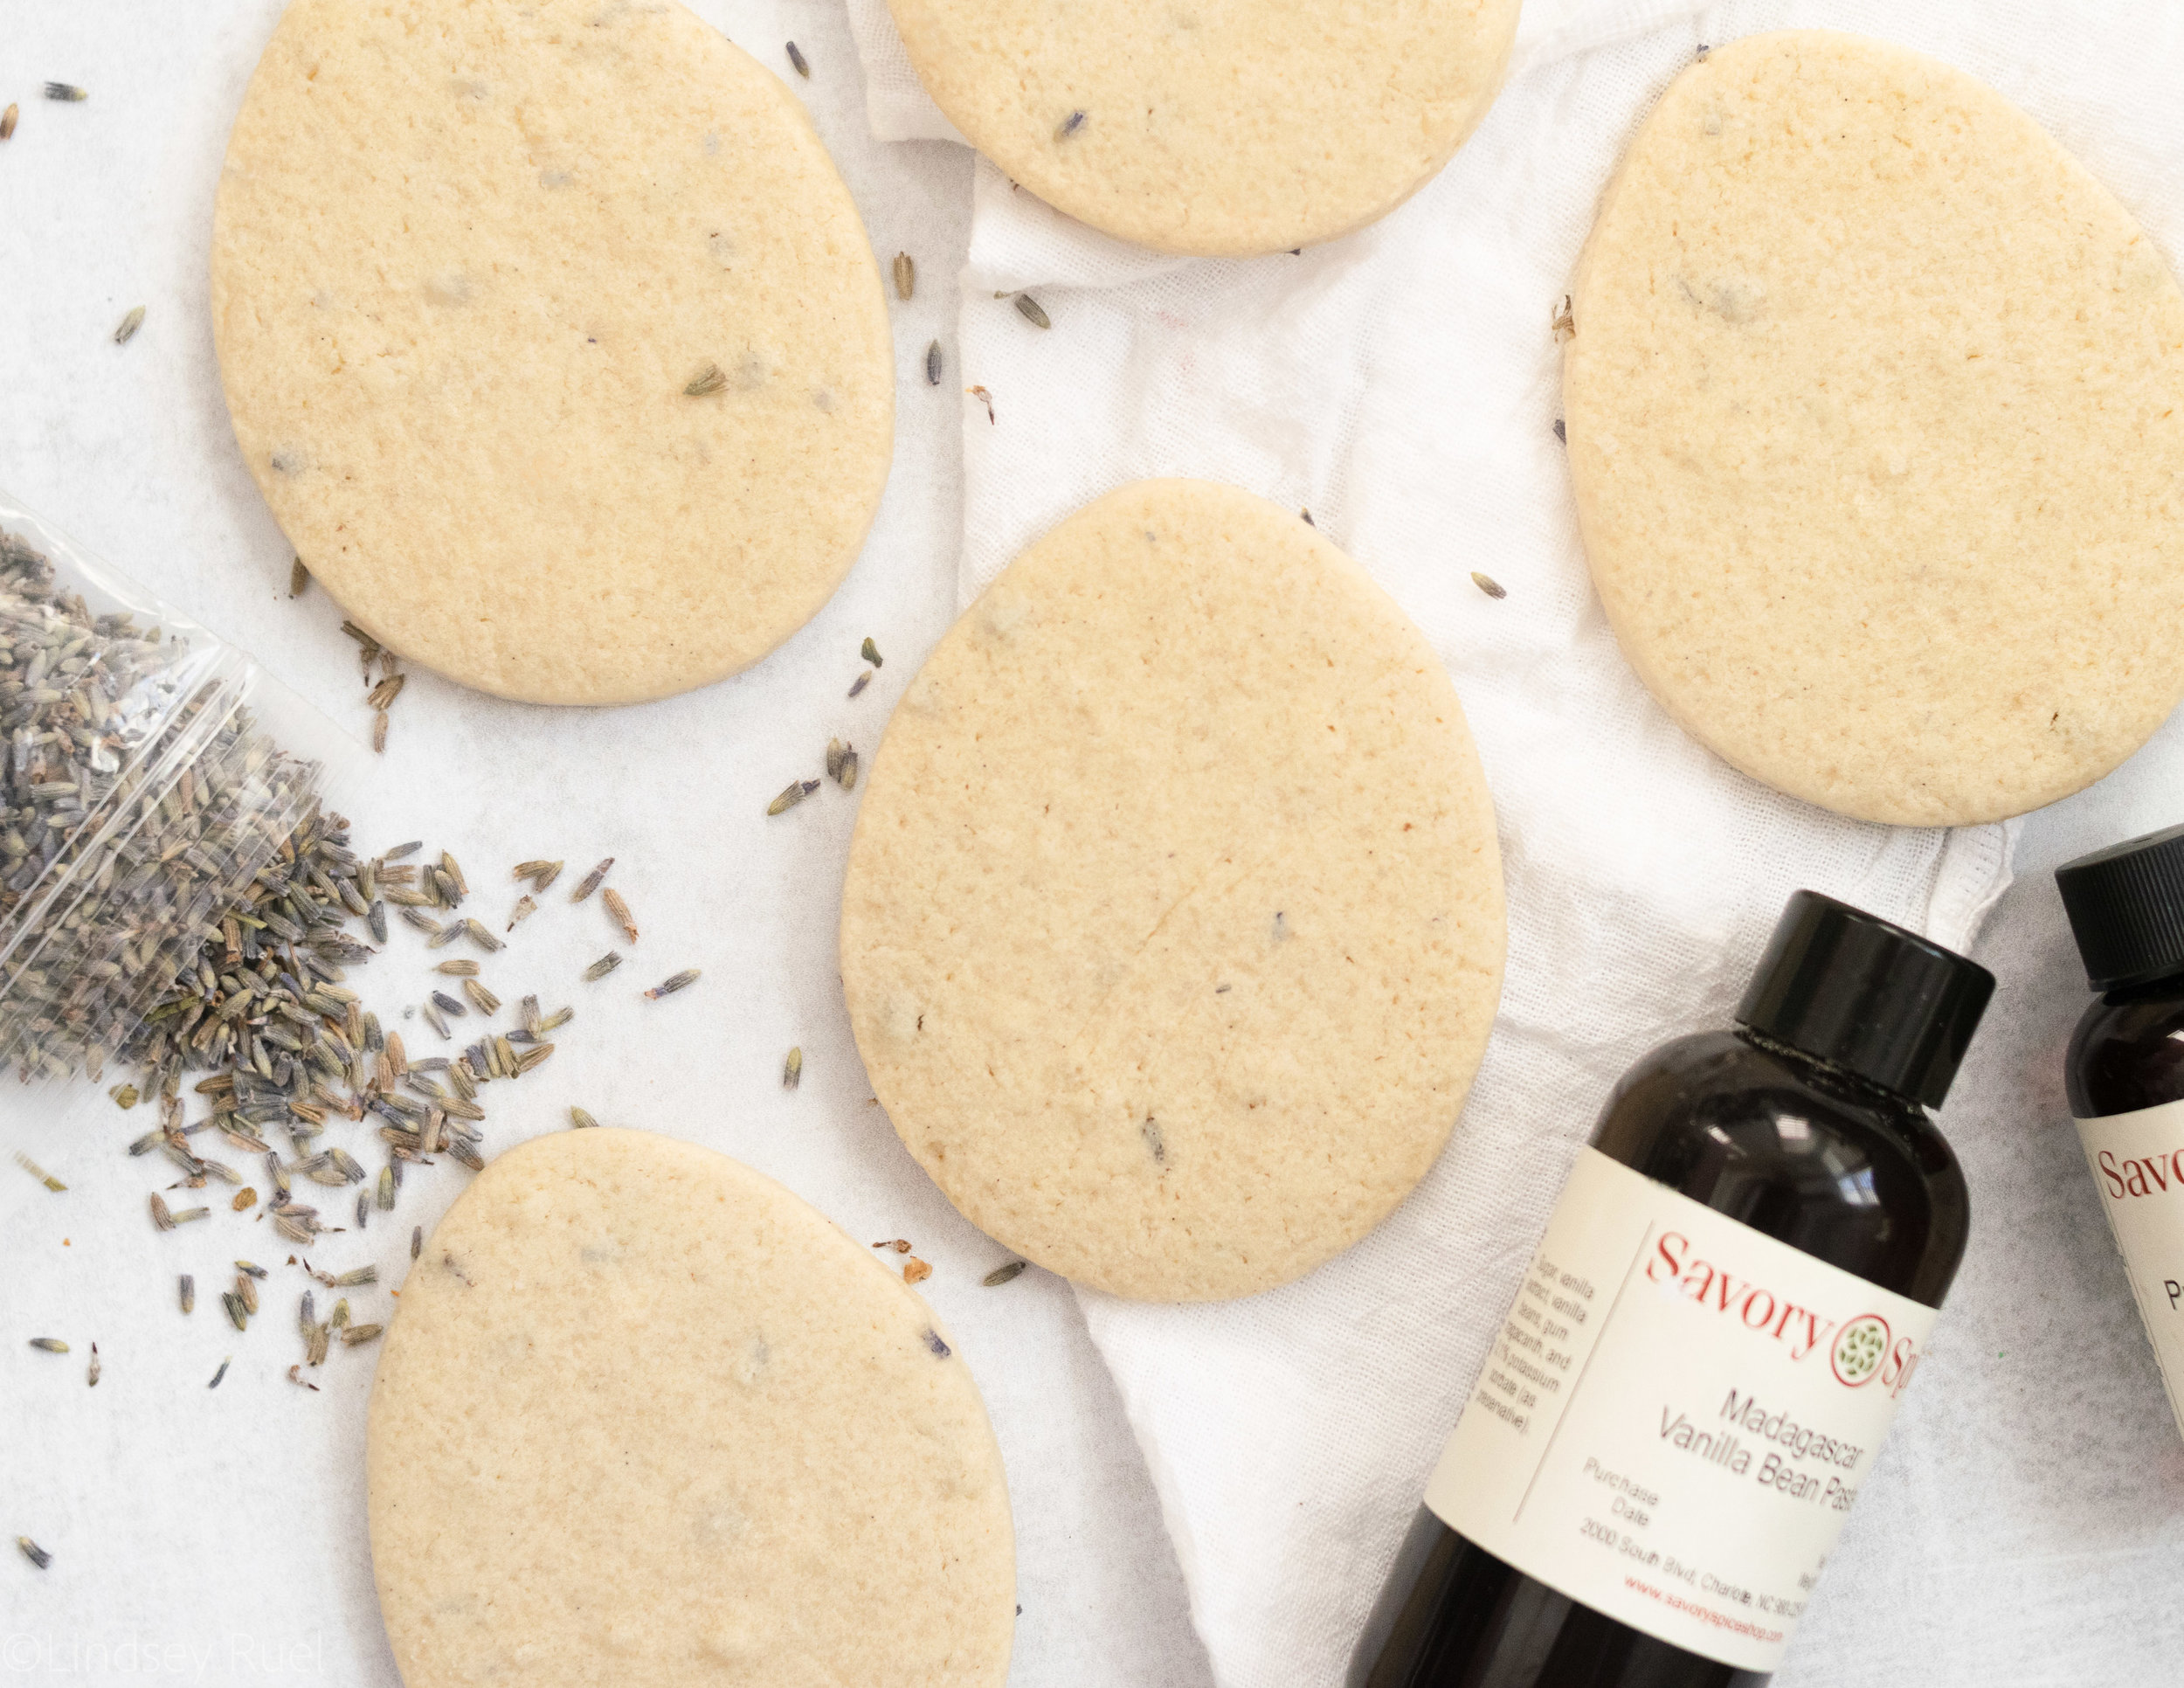
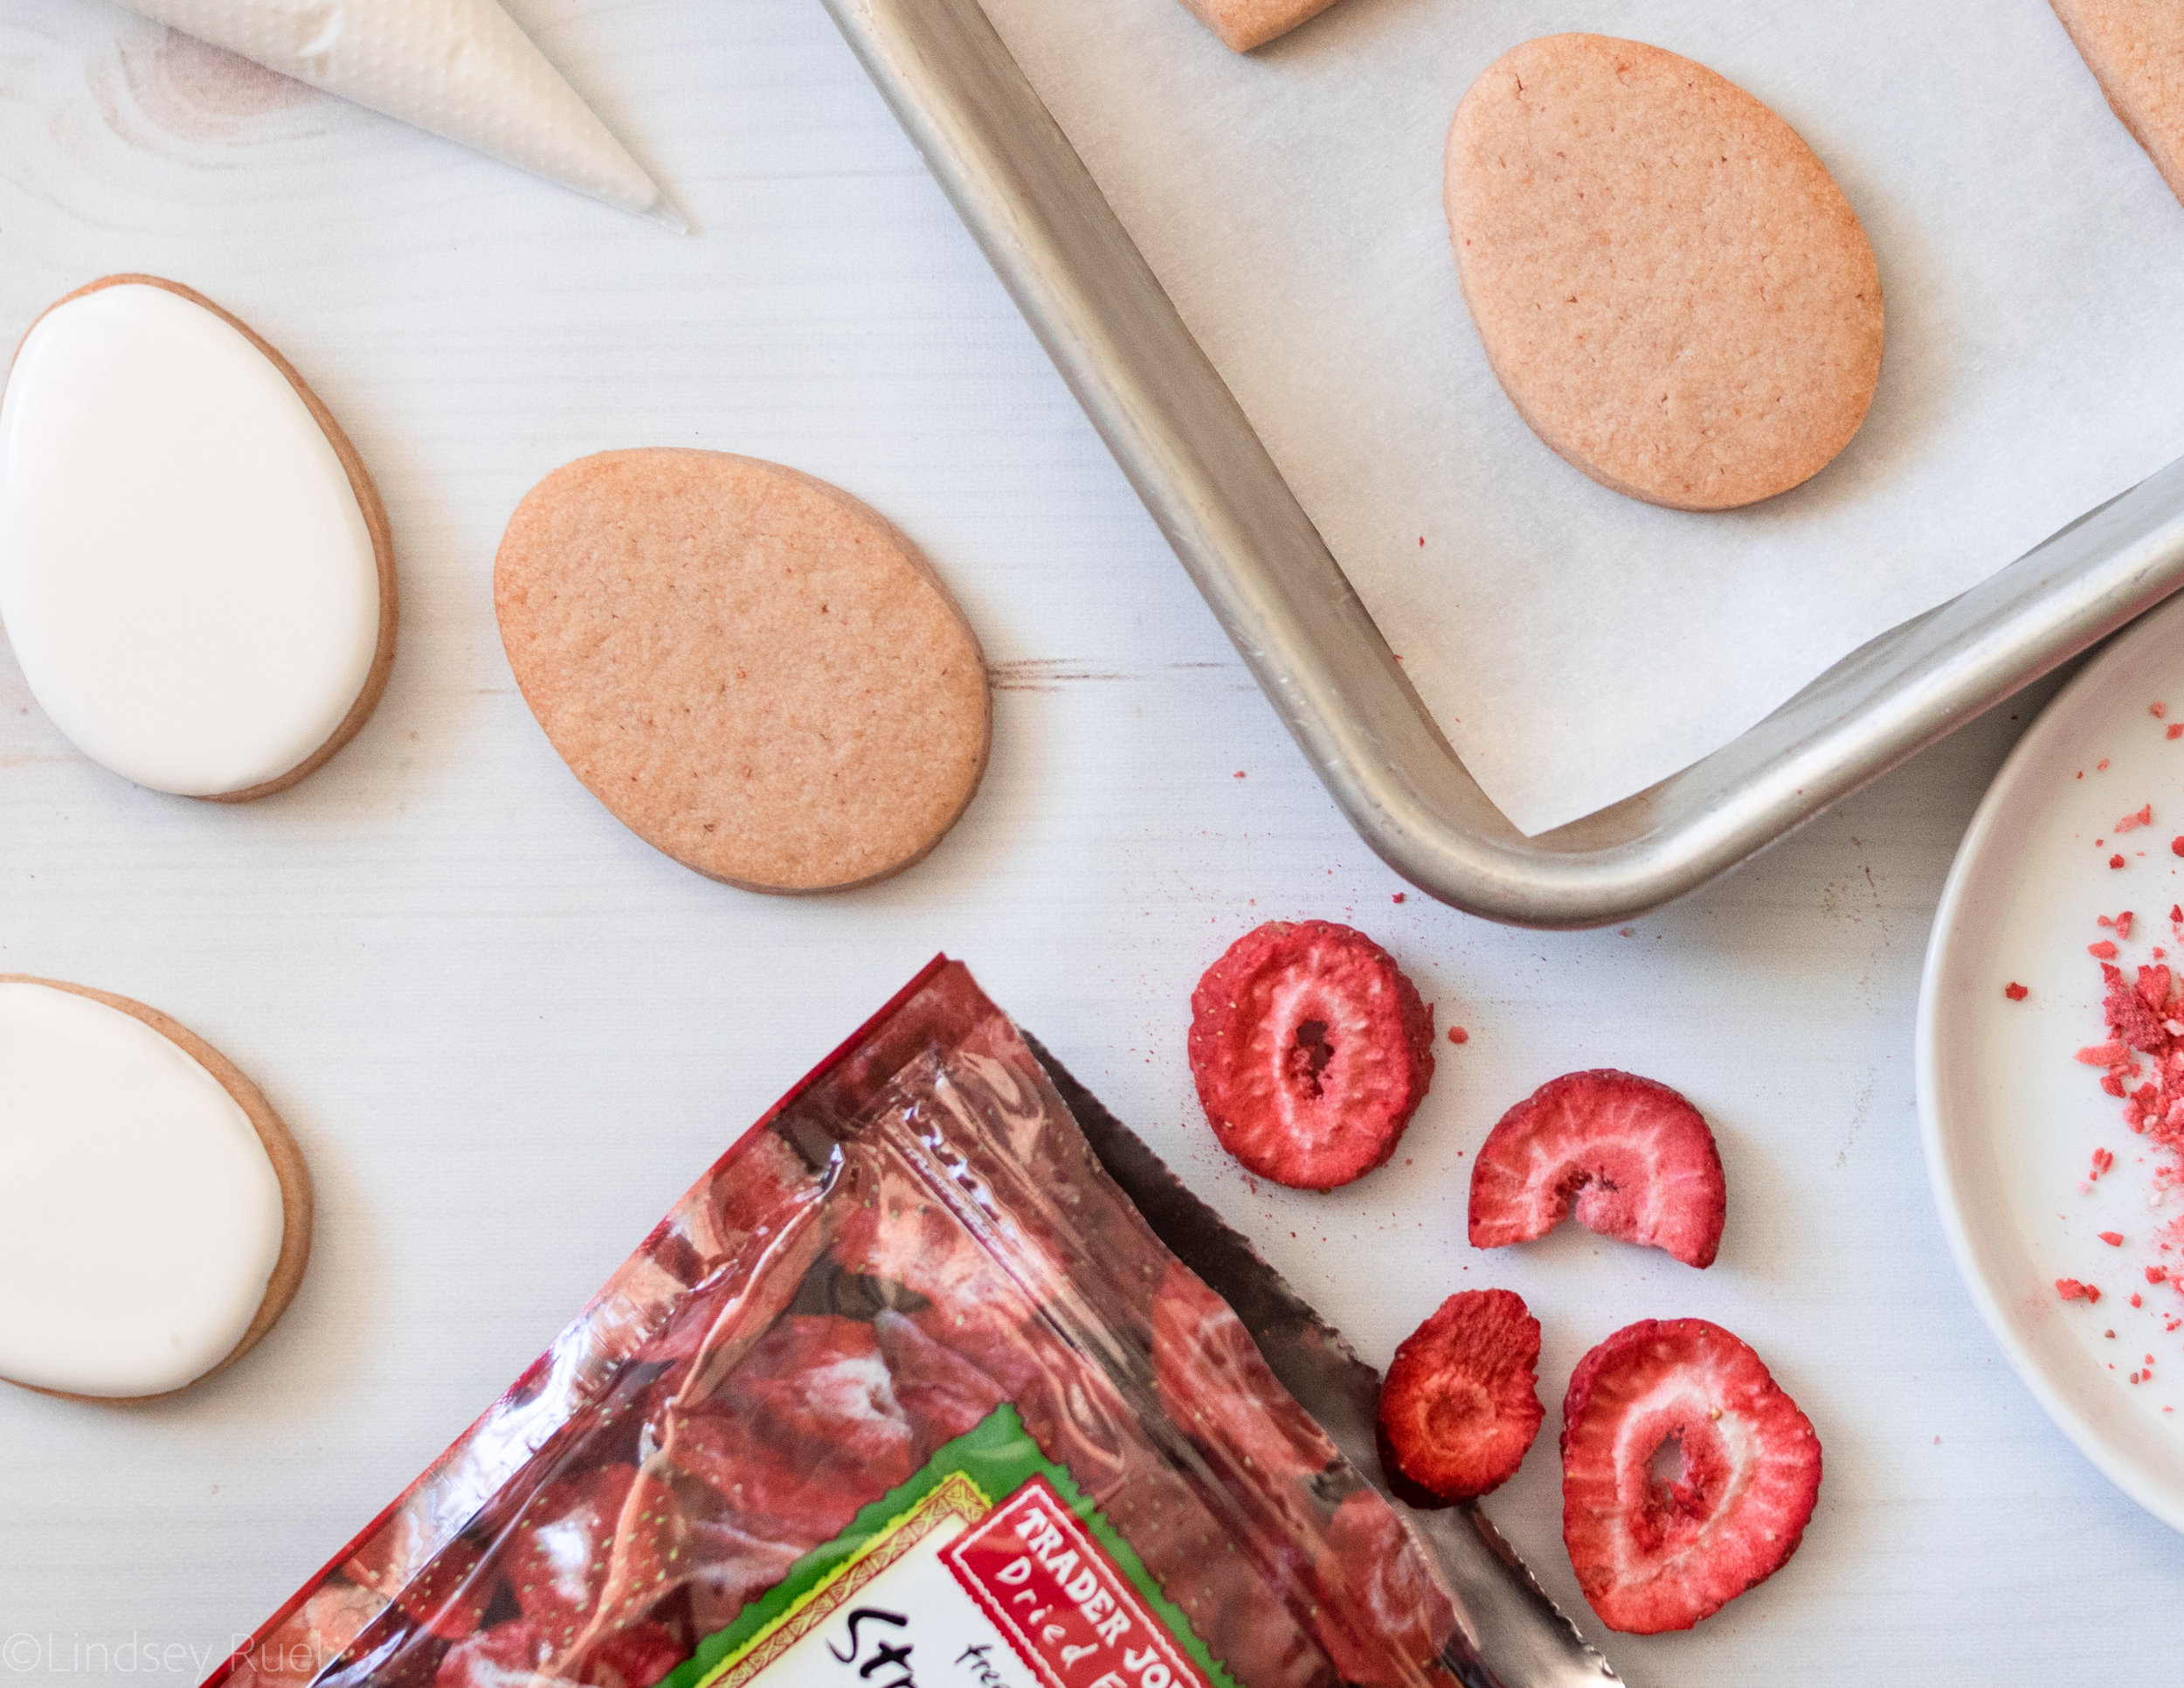
Start with cookies in any shape and flavor you like. I think a simple shaped cookie is best since the pattern is what will draw the attention.
I made hexagon shaped cookies in a variation of my strawberry almond sugar cookie recipe
Next you will need some royal icing in a few different colors and consistencies.
Make both piping consistency and 10-second consistency royal icing in your base color. I made mine a pale pink.
Make 15-second (or 10-second if you don’t want to have to separate your icing even more) for the accent colors of the flowers and leaves.
Other supplies that will be needed are:
Piping bags or zip-top bags
a scribe tool or toothpick
Food coloring markers (optional)

How to Make Them
The best way to learn how to make them is to watch the video below. But there are a couple pieces of advice I will share that will make this technique fool-proof:
Create a thick outside border (thicker than what I do in the video) with your piping consistency icing.
Leave a small margin of cookie around the edge so that your icing doesn’t spill over.
Do not over fill your cookie with icing since you will be adding more on top.
Work relatively quickly when creating the pattern. Since you are piping on top of 10-second consistency icing, you probably have a minute before the icing crusts over and then the second layer doesn’t settle in with the first layer.
If you follow this advice, you will surely create some awesome cookies!
Recipes