
Classic Danish Butter Cookies with a Modern Twist
Danish butter cookies are one of my favorites! I don't know about you, but around the holidays one of those blue tins always popped up around my house. Whether we got it as a gift or bought it to give as a gift, which I would proceed to eat anyways (sorry, Mom).
This year I decided to try my hand at making my own Danish butter cookies, which turned out to be so much easier than I anticipated. The dough is just like sugar cookie dough, but not quite as dry. You want to be able to pipe it through a piping tip after all.
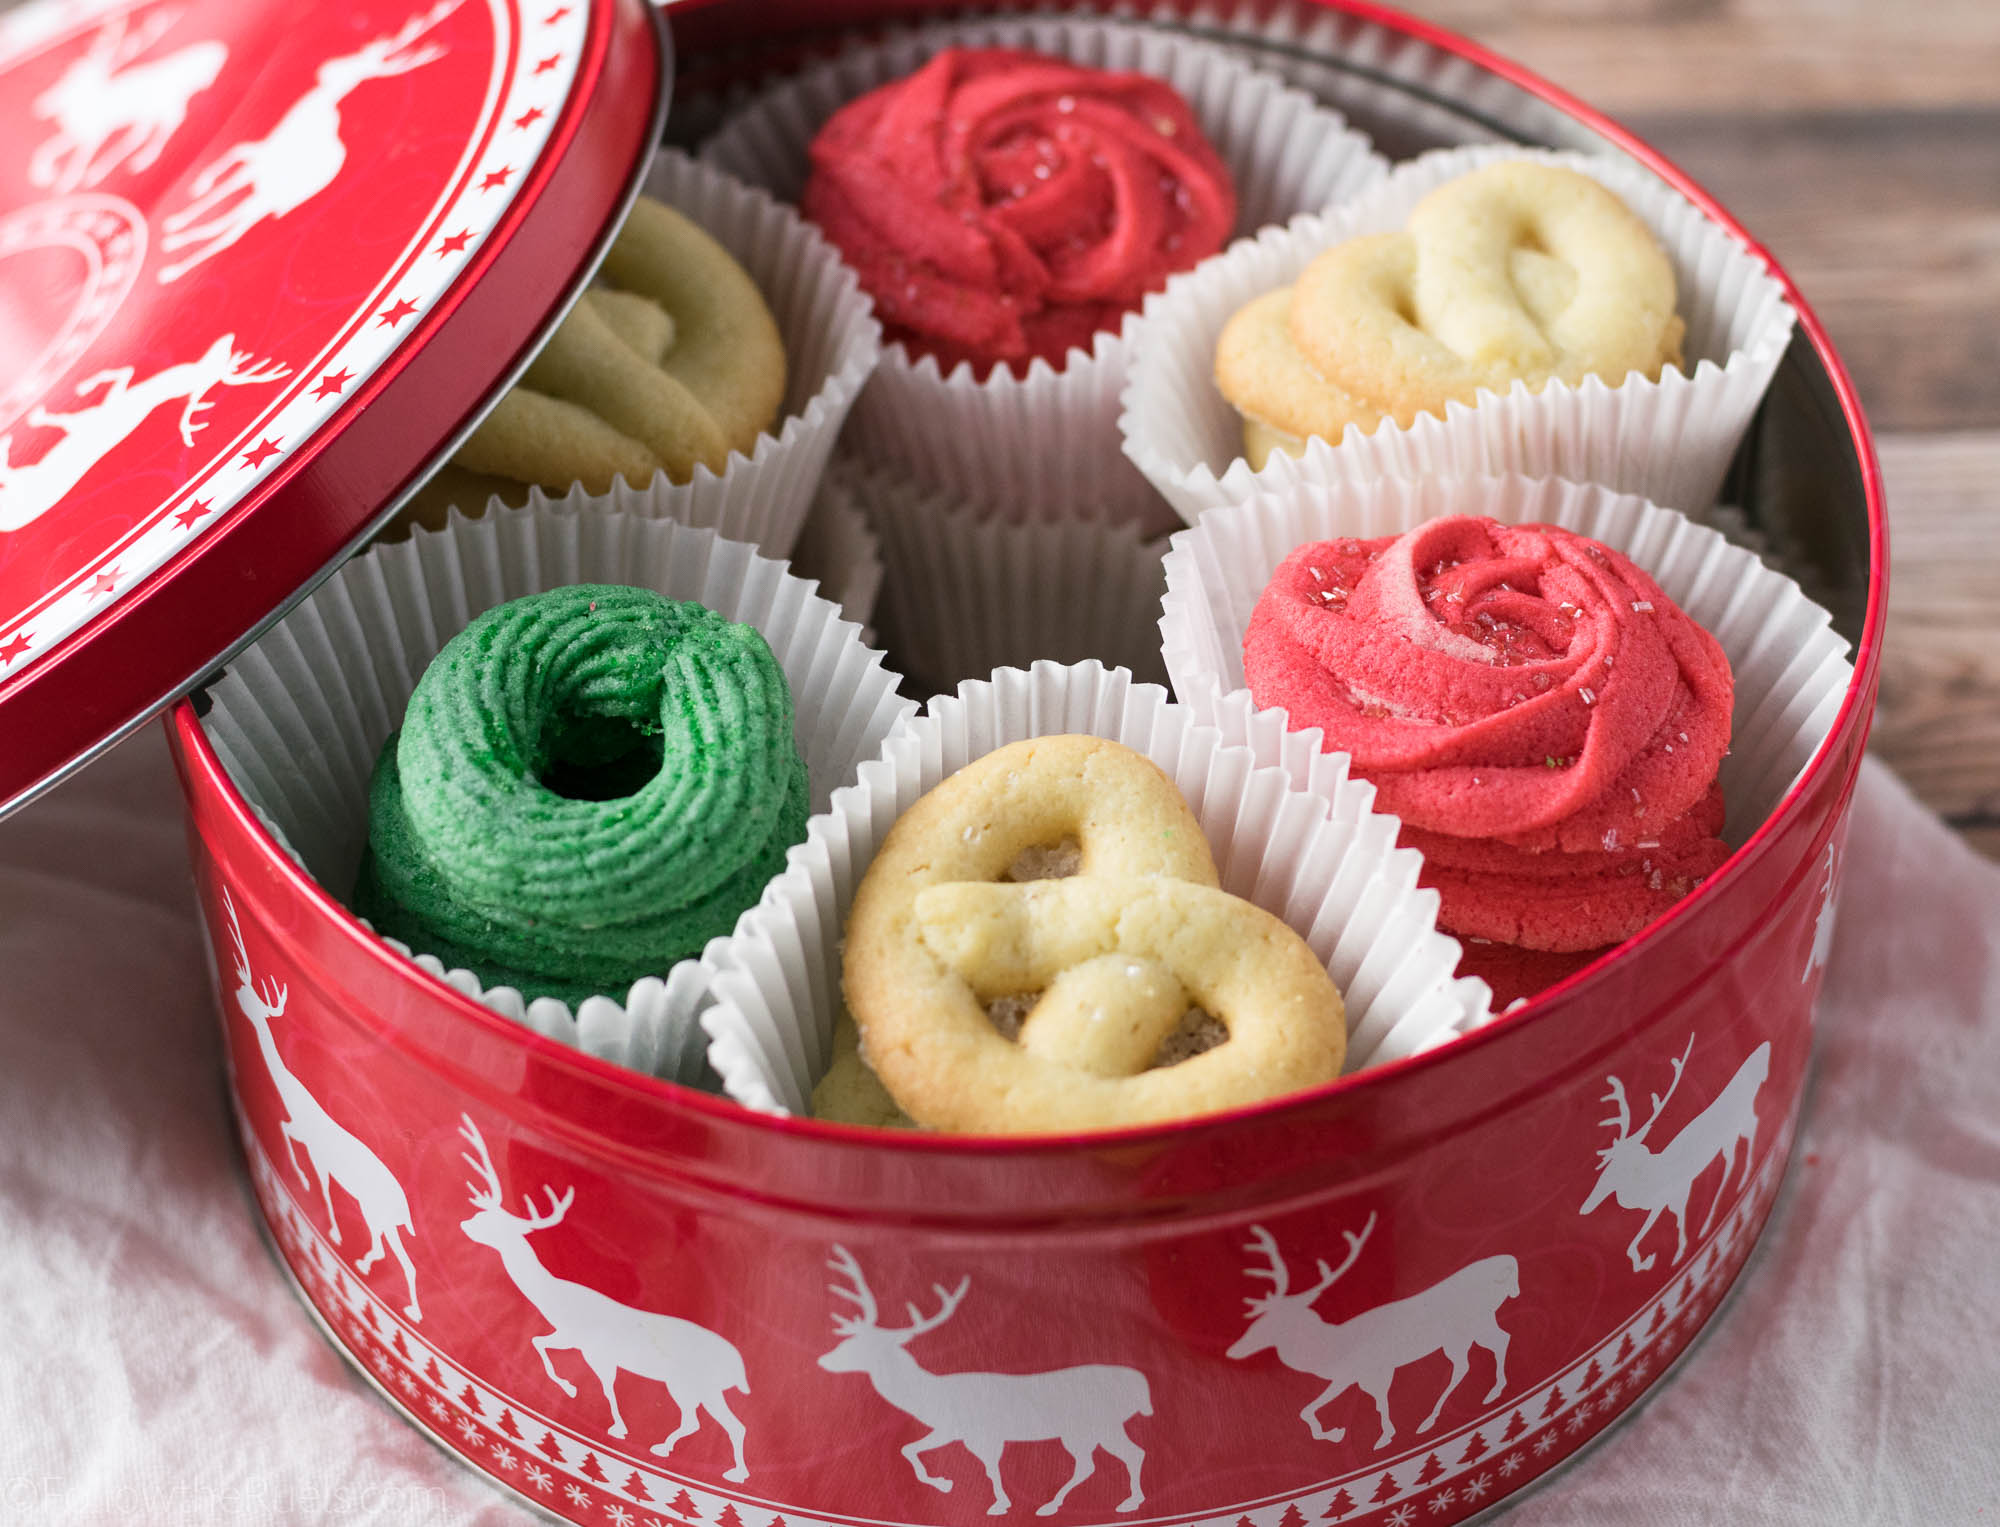
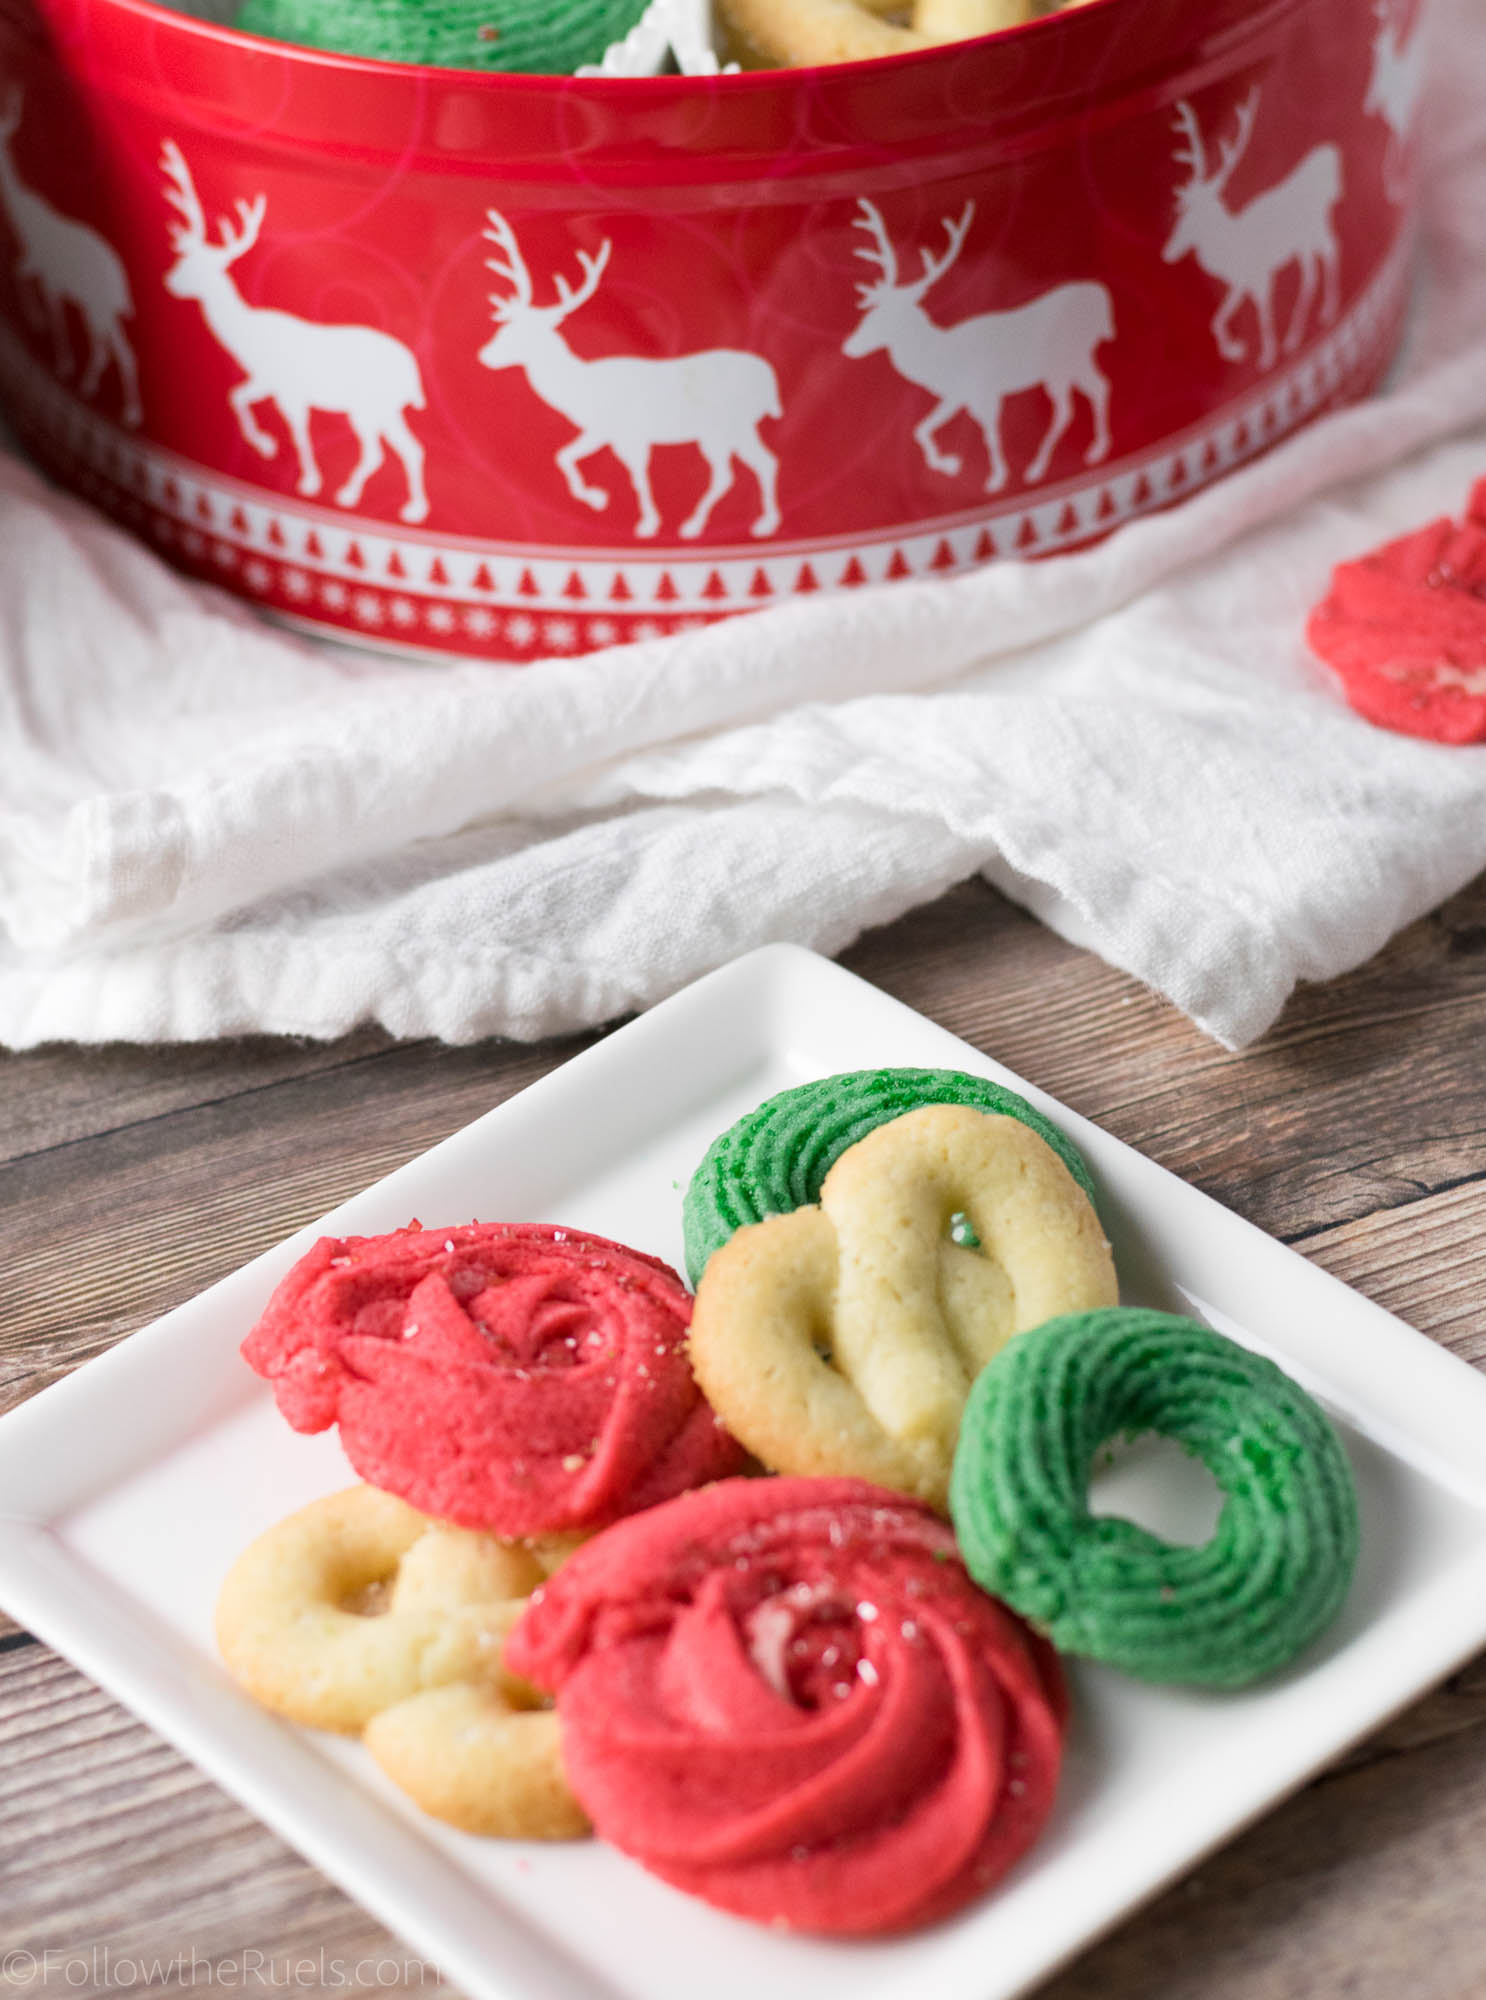
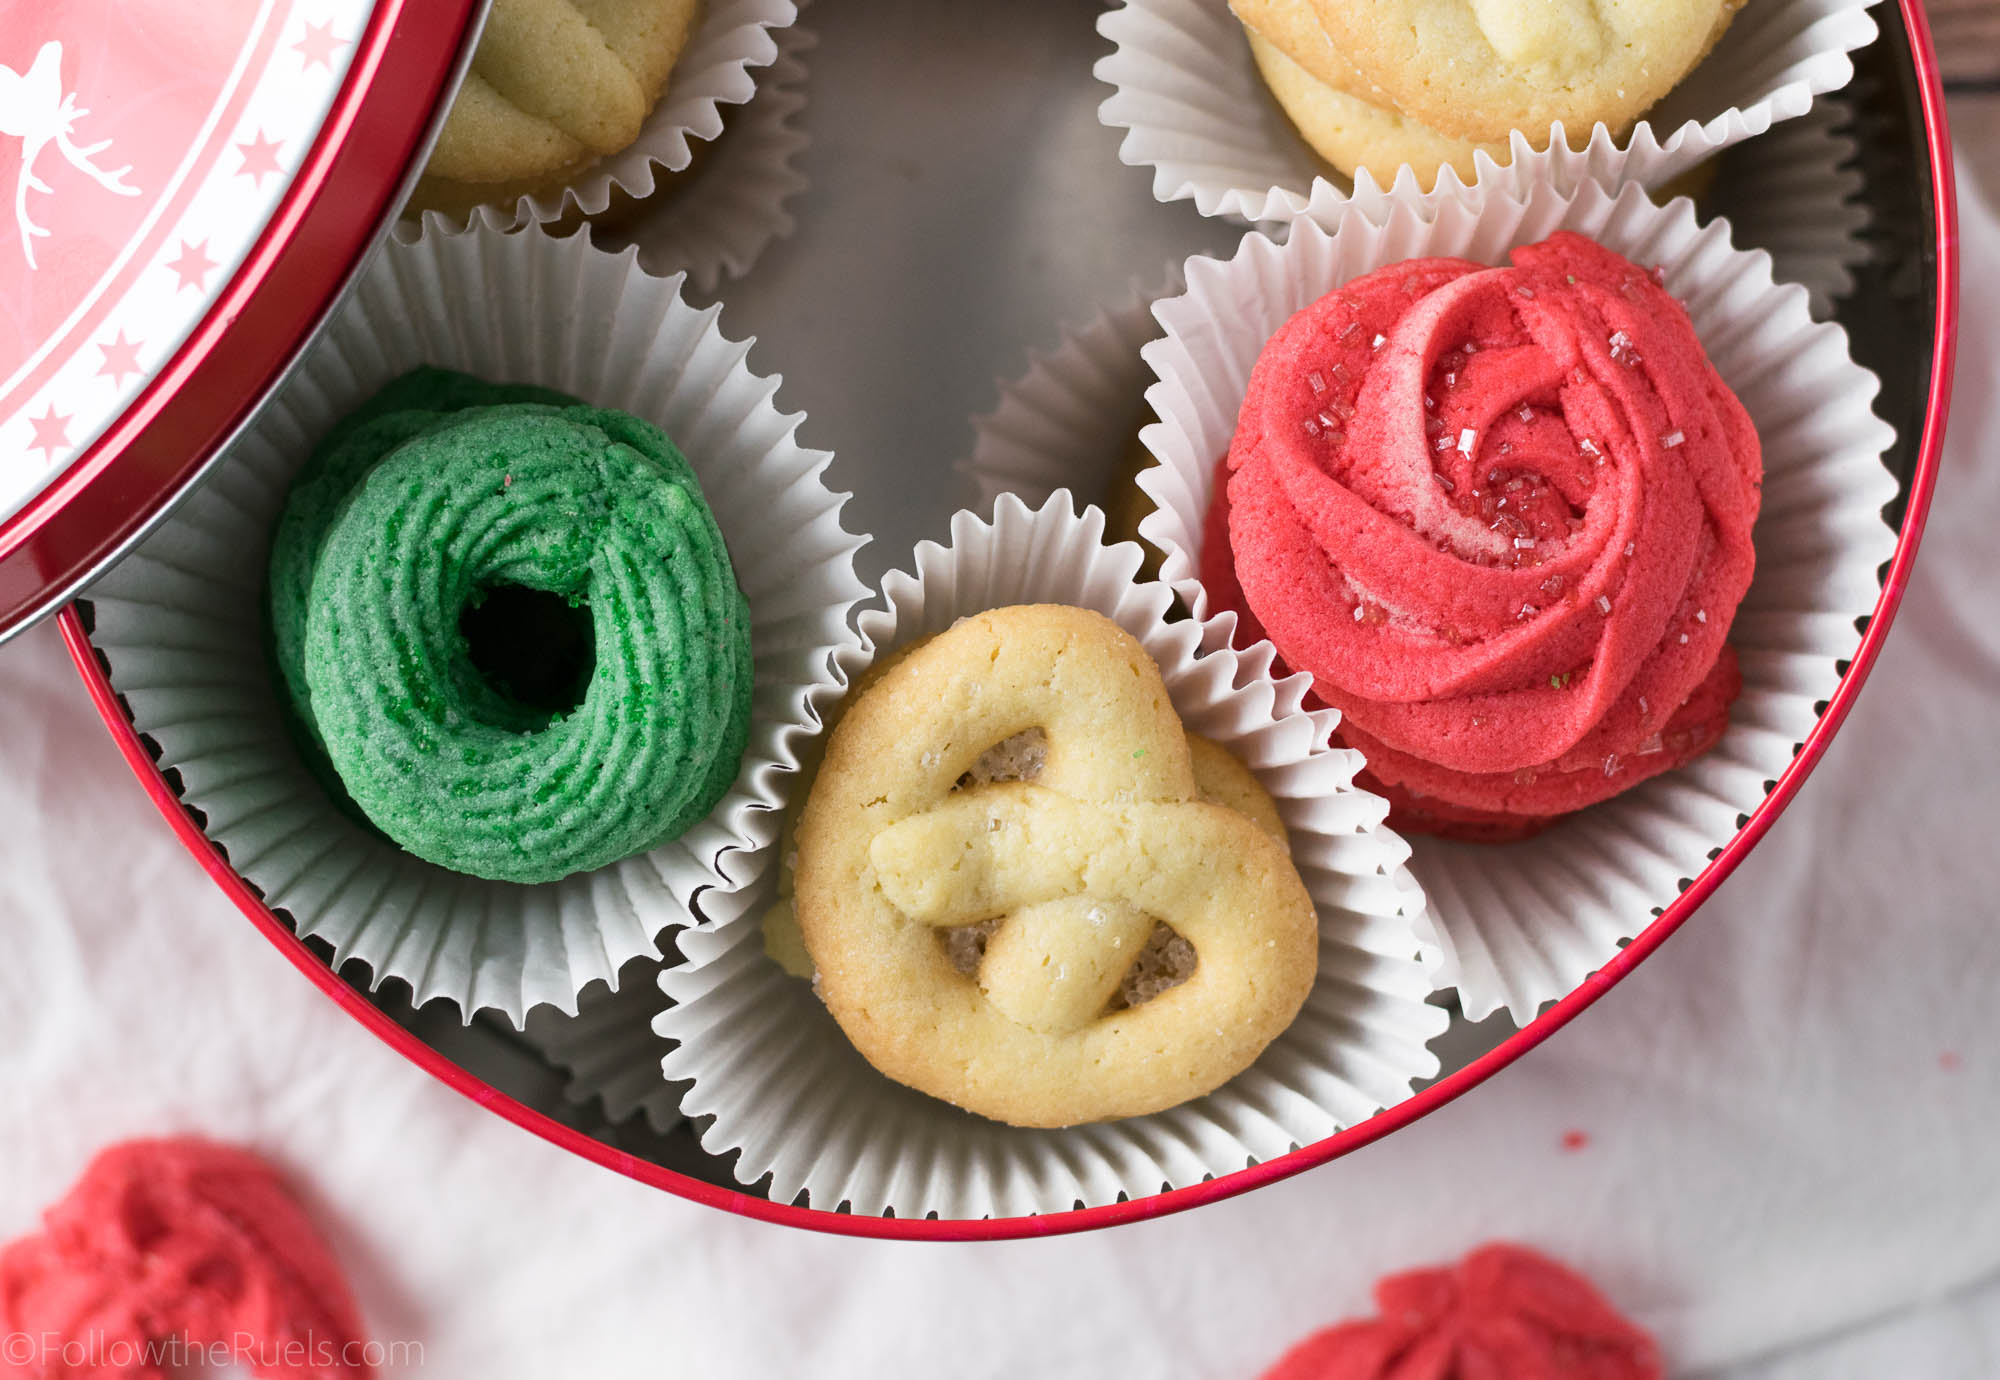
I also wanted to mix things up a bit and color my dough for the various shapes of the cookies. I kept it plain for the classic pretzel shape, green for the wreath, and red for the rose.
Since Thanksgiving I have been trying to think of ways I could make flower shaped cookies, using my piping tips. Little did I know the answer was right under my nose!
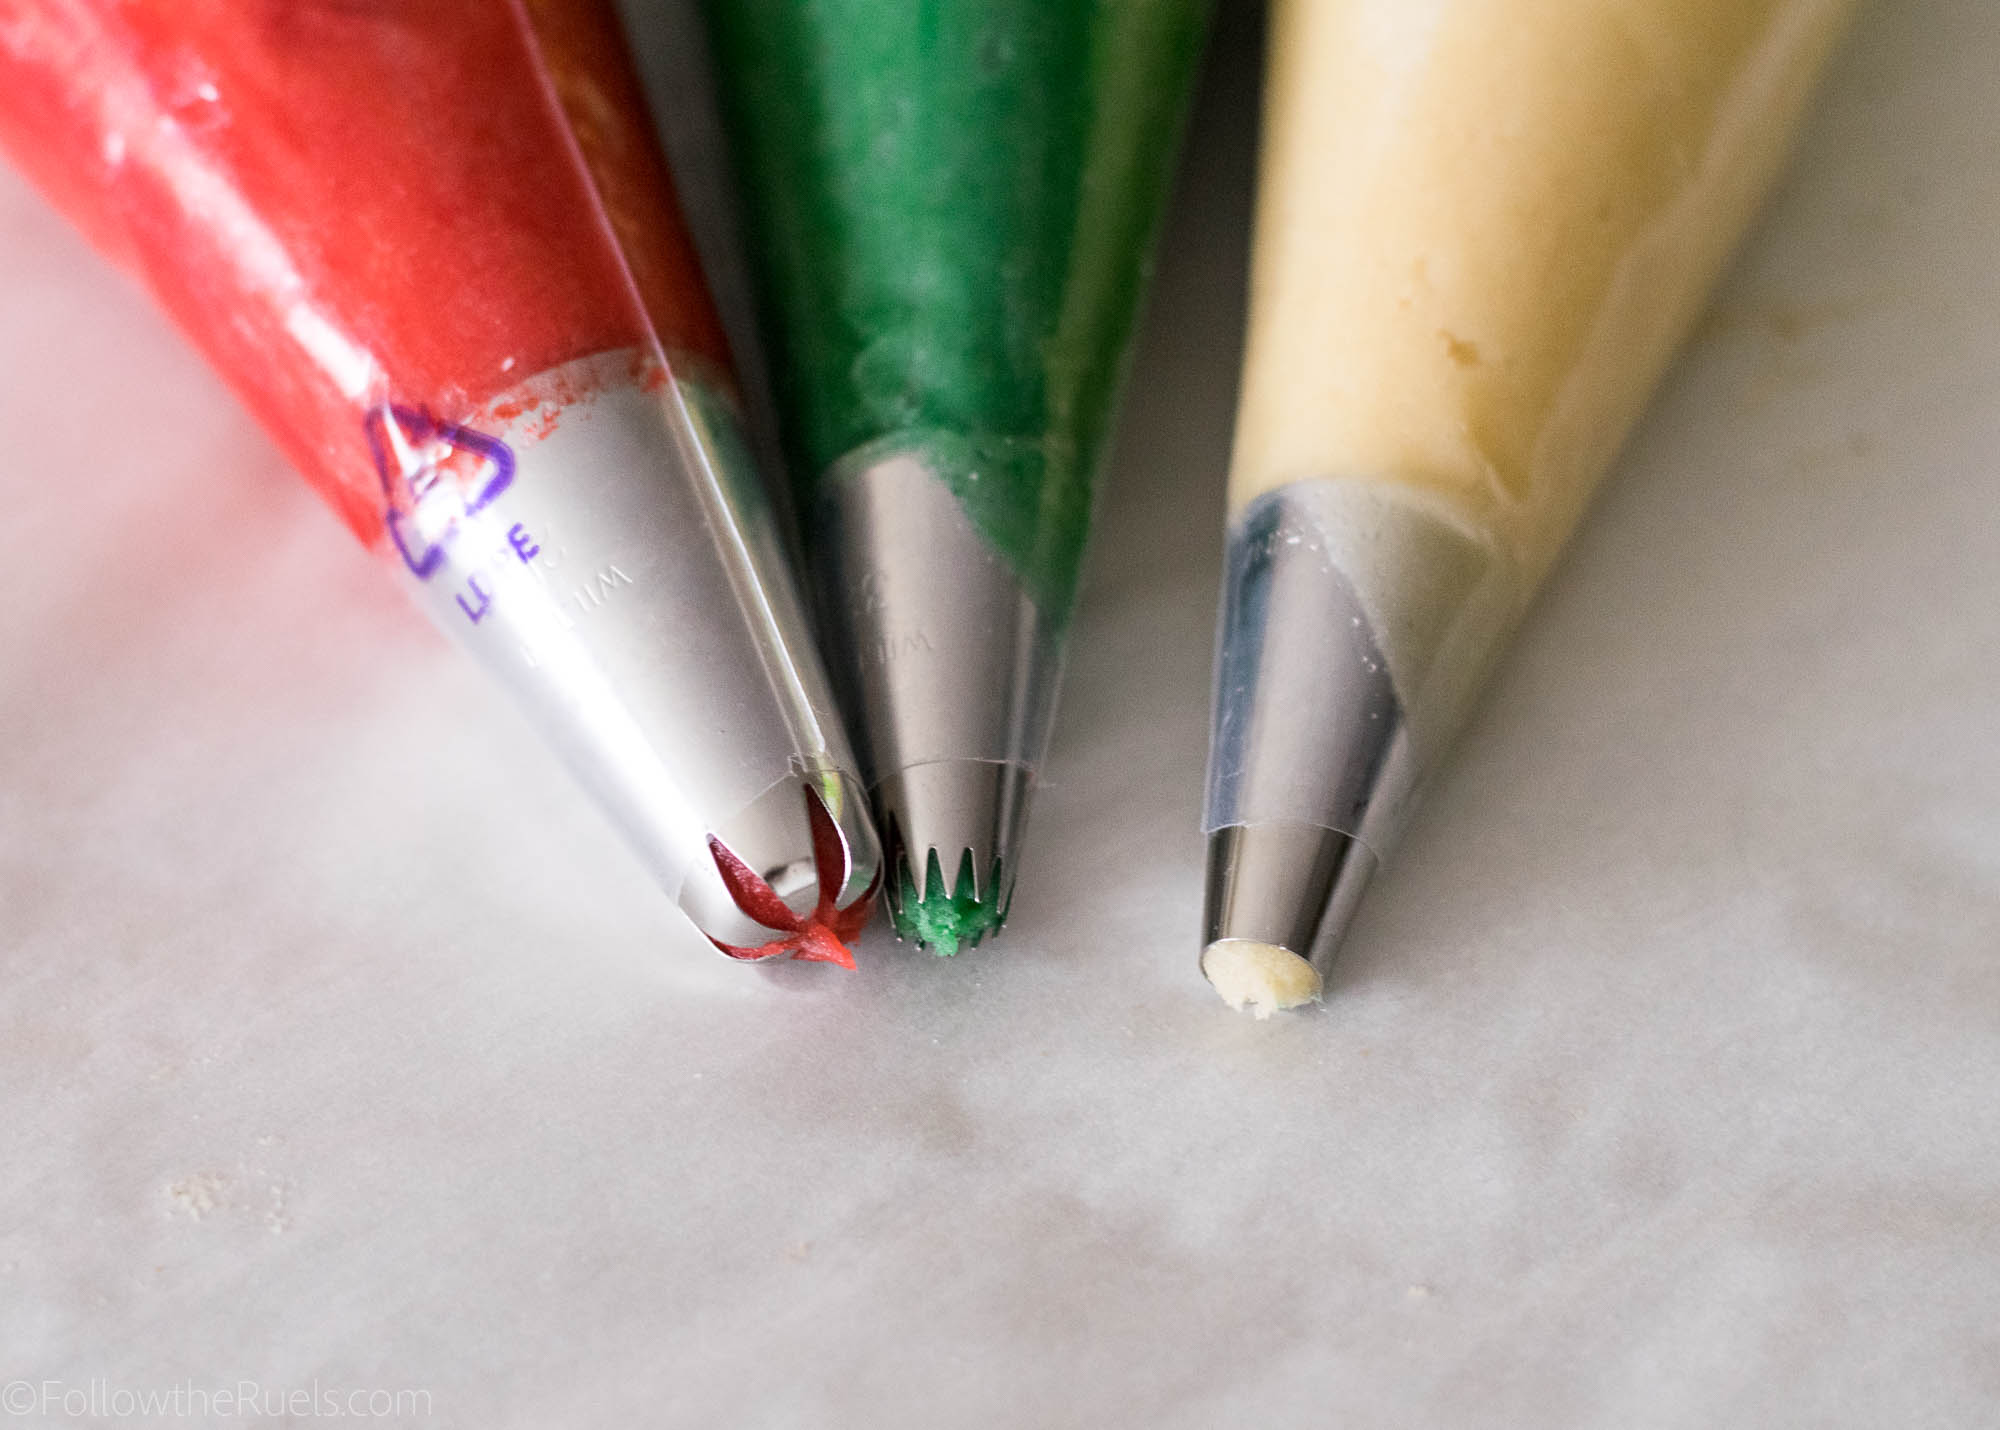
For the roses I used a 2D tip,the wreath a #32 tip (although you could go a tad bigger), and for the pretzel I used a #10 tip.

Now, the hardest part about these cookies is piping them. Recruit someone with strong forearms, like a baseball player, bowler, tug-of-war champion to do this part for you.
If you don't have access to anyone like that, just use two hands to pipe out the dough.
Once they are piped, they can get sprinkled with some sugar or go straight into the oven.
While they do puff up and spread out in the oven, they still maintain their cute shapes! I mean, those roses....I love them!
I think these butter cookies will be one of my go-to Christmas cookies from here on out. Not only are they a classic, but you can give them a but of a modern touch with some food coloring and different piping tips.
Tools

Recipe
Danish Butter Cookies
Prep Time: 20 minutes Cook Time: 15 minutes Total Time: 35 minutes
Makes 24 cookies
Ingredients
- 1 cup butter, softened
- 1/2 cup granulated sugar (114 g)
- 1 large egg
- 1 tsp vanilla extract
- 1/8 tsp coconut extract (optional)
- 2 cups flour (252 g)
- 1/4 tsp salt
- sanding sugar for topping (optional)
- food coloring (optional)
Instructions
- Preheat oven to 325 degrees. Line a baking sheet with parchment and set aside.
- In a large bowl, cream together butter and sugar until light and fluffy. Mix in egg, vanilla, and coconut extract.
- Add flour and salt to the bowl and mix until combined. The dough should be very sticky.
- If coloring your dough, add food coloring to the dough and mix until it is a consistent color.
- Place dough into piping bags fitted with tip or nozzle of choice (see notes for the tips used for these cookies).
- Squeeze dough out into desired shape about 1 inch apart on the baking sheet. Sprinkle with sanding sugar and bake for 15 to 20 minutes, until just golden brown around the edges.
- Allow to cool on the pan for 5 minutes before transferring to a wire rack.
- Store in an airtight container for up to a week.
Notes
For the pretzel shaped cookie, use a #10 circle piping tip.
For the rose shaped cookies, use a #2d piping tip.
- For the wreath shaped cookies, use a #32 piping tip.