
Honey Blondies

I have a lot of flaws. One of them is my ability to procrastinate. I am a champ at it.
Case in point: I have known that I was going to be renaming this blog "The Honey Blonde" for months. Like, since February or March. And I also knew that one of the first recipes I wanted to post on this new Honey Blonde blog was a Honey Blondie.
Of course.
Now, a normal, well-organized person may have planned out this recipe over the past few months. Perfecting and tweaking in the 5 (FIVE!!) months leading up to the launch.
What did I do? I started recipe testing the week that the new blog was to go live. That deserves a palm to the face, for sure.
Fortunately, it didn't take long for me to craft the perfect Honey Blondie recipe. These particular blondies are nice and moist, but not overly dense like a brownie or some other blondie recipes. It's actually a bit more cake-like, which I prefer for this recipe.
The honey provides such a lovely flavor that is much more mellow than a traditional blondie made with molasses. While it still has that caramel flavor, it's not as sickeningly sweet.
This actually may be my preferred blondie recipe, now!
How to Make It
Blondies are similar to brownies but they are so much easier to make! This recipe can be made in just one bowl.

First, mix together melted butter, honey, and granulated sugar.

Then mix in your eggs and vanilla.
(Yes, this photo only shows 1 egg. It was from a previous recipe test that was almost there, but not quite.)

Finally, mix in the flour, baking powder, and salt until you have a nice smooth batter.

The last, totally optional, step would be to add any mix-ins you like. I made two versions of this recipe with white chocolate chips, which were delicious.
However, I think I prefer these blondies plain!
They would also be good with semi-sweet chocolate chips or even chopped nuts!
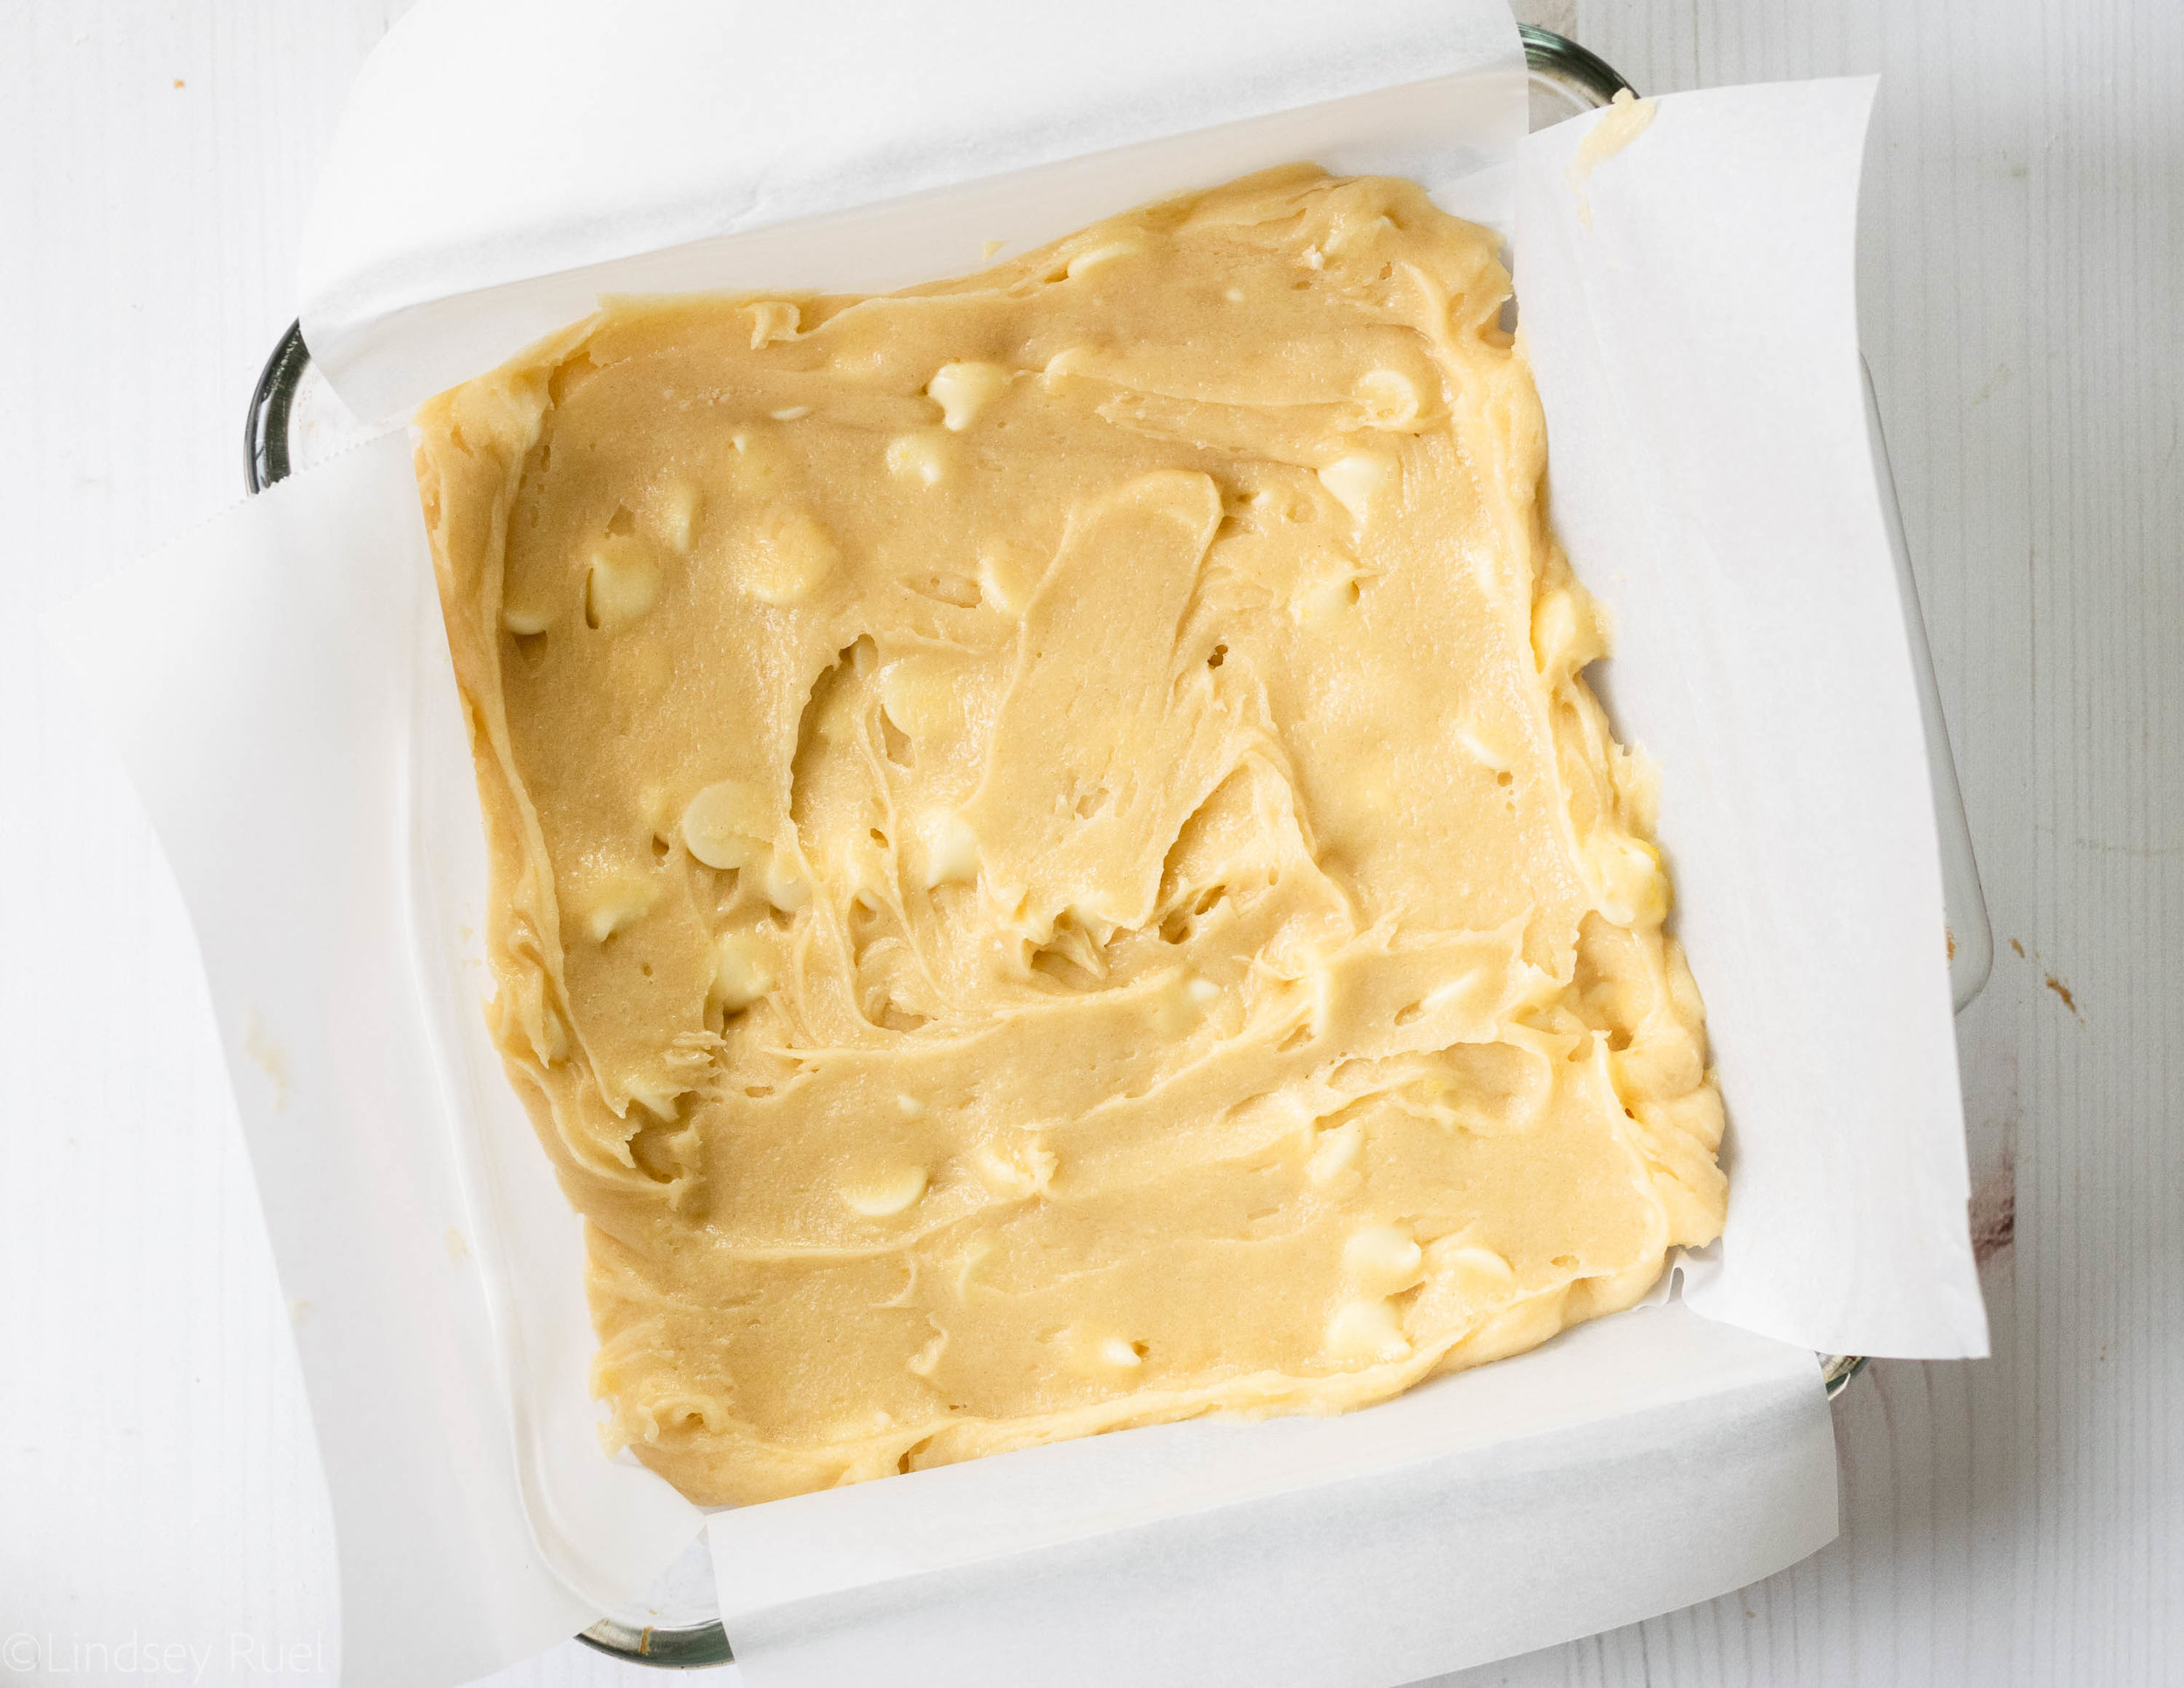
Finally, spread the batter into a square baking pan and then pop into the oven.


You will know when they are ready to come out of the oven when the top is nice and golden brown, and the center barely jiggles or doesn't jiggle at all. You want the center to be set so it doesn't deflate as much.
As soon as they come out of the oven, your kitchen will smell like heaven! But definitely wait to dig in. Let these cool for at least 20 minutes before cutting into pieces.
Recipe
Prep Time: 10 minutes Cook Time: 25 minutes Total Time: 35 minutes
Makes 16 squares
Ingredients
- 1/2 cup (1 stick) unsalted butter, melted
- 3/4 cup granulated sugar
- 3 tbsp honey
- 2 eggs
- 1 tsp vanilla
- 1 cup all-purpose flour
- 1 tsp baking powder
- 1/4 tsp salt
Optional:
- 3/4 cup chocolate chips (white or semi-sweet) AND/OR
- 3/4 cup pecans or walnuts
Instructions
- Preheat oven to 350 degrees. Line a square baking dish with 1-2 sheets of parchment so that the bottom and sides are covered.
- In a large bowl, whisk together sugar, honey, and butter until well combined. Beat in the eggs one at a time then mix in the vanilla.
- Add in the flour, baking powder, and salt and mix until it forms a smooth batter.
- If adding any mix-ins, fold into the batter before pouring batter into the pan.
- Pour batter into prepared pan. Bake for 25-30 minutes, or until the top is golden brown and the center is set.
- Let cool for at least 20 minutes before cutting.